


Wallpaper can transform a room
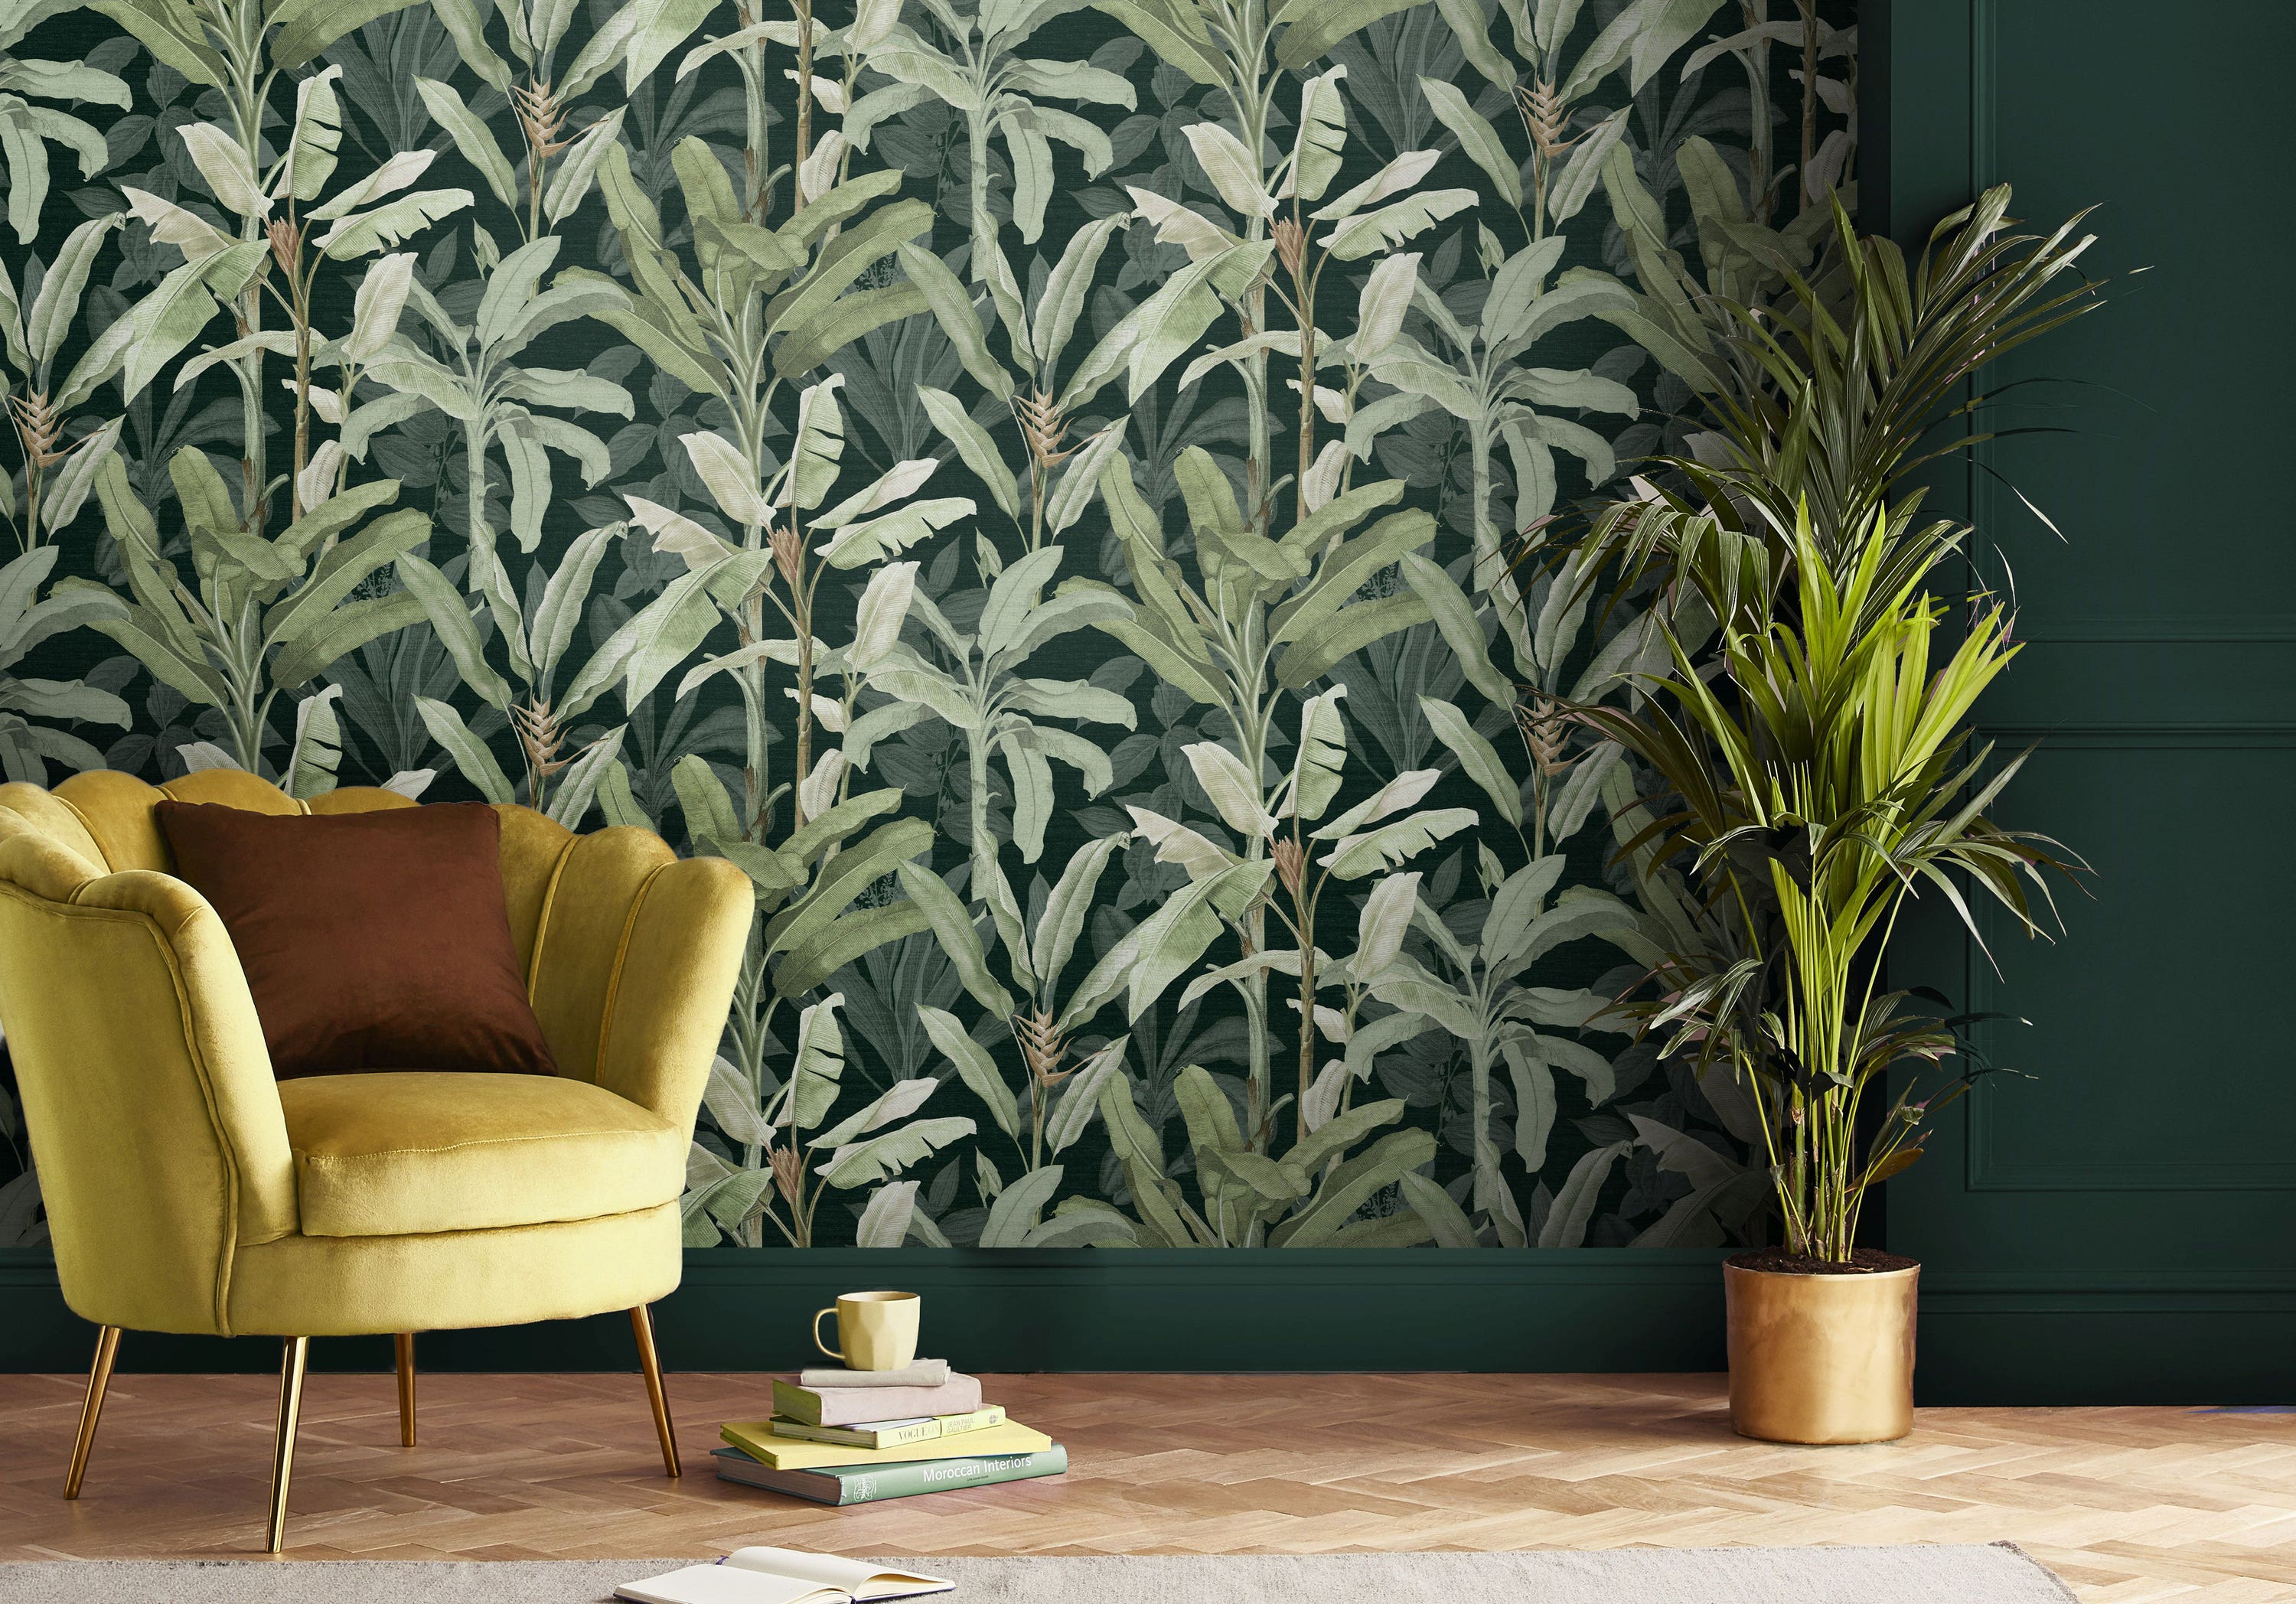
Wallpaper is a wonderful thing. And thanks to a whole host of new trends – from the Bridgerton bug to retro revivals – we’re rolling out wallpaper like never before.
It’s certainly come a long way – prints now have a modern edge, and ‘paste the wall’ styles mean there’s no need for a tiresome pasting table – so it’s easier than ever to transform a room.
James Greenwood, brand and wallpaper expert for Graham & Brown shares his tips for hanging wallpaper.
- Preparation
“To ensure a professional finish, you must prep your walls, so they’re smooth and clean for your wallpaper,” he advises. “To achieve this, use some filler to fill in any holes in the wall, then sand to smooth down. Once any filler is dry, clean the wall with sugar soap.”
- Starting out
“The first drop of wallpaper is the most important, as everything will align to this point. To ensure you get it right, make sure the wall is plumb [perfectly vertical] – using either a plumb bob or spirit level to create a plumb line.
“Start 50 centimetres in from the first corner, or if you have a focal point on your wall – such as a fireplace – start here to ensure the design is centered.”
- Paste the wall
“Paste the wall so you can apply the paper to your walls with ease,” Greenwood says.
“Simply paste the area for your first drop, ensuring you cover every inch in paste. We recommend using a roller for large areas, and a brush to get around the trickier areas. Make sure to spread your paste a few centimetres extra for each drop, to ensure the edges have something to adhere to.”
- Hanging
“Apply your wallpaper from the top of the wall, leaving a couple of centimetres spare to ensure there is no gap between the wall and ceiling. Slowly ease the wallpaper down the wall, brushing lightly as you go along, to make sure the paper lies smoothly,” Greenwood advises.
“When you reach the bottom, simply trim the excess paper and move to the right to start your next drop. Make sure to check where your design matches up to the first drop and align accordingly, then follow the original steps until you complete the wall.”
- Corners and tricky areas
He continues: “Some areas of the wall can be more challenging, such as corners and plug sockets. For internal corners, paste the wallpaper onto the wall as normal, and brush the wallpaper around the corner by a few centimetres.
“Then move onto the other side of the corner, repeating this process. This will cause the two papers to overlap, which can be left to dry and then trimmed with a sharp blade to remove excess paper. A similar process can be followed for external corners, wrapping the paper around the corner, and trimming any overlap.
“For plug sockets, switch off your power at the mains and unscrew the socket to loosen it from the wall. Then you can simply paste the wallpaper as usual, and let the paper drop over the socket. Then mark the corners and cut the paper with an X shape. The paper can then be slid around the socket for a flush finish.”